 Aunty is a junk cook. However, the ONE thing that Aunty does well is making spam musubi with sato shoyu spam and ume.
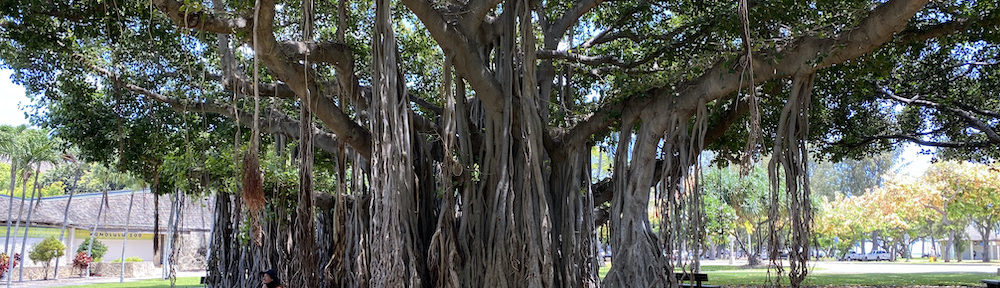
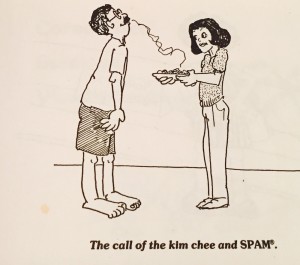
Aunty shared one with Thomas Bena when he was in town showing his excellent documentary “One Big Home”, just in time for the City Council to approve a monster house building moratorium. This picture is from an email from him about his trip over here. Cool, yeah?
This recipe will make 5 spam musubis, so adjust accordingly.
2 cups of cooked white rice
5 slices of spam
equal parts of brown sugar and soy sauce
smashed slices of fresh ginger root
ume pieces (avoid putting in the small ume with seed so it isn’t a hazard to eaters)
3 nori sheet cut in half lengthwise
Cook white rice in rice cooker – short grain rice is best (Aunty has become a rice connoisseur), stir 10 minutes after done to fluff, and cover until ready to place rice on board.
Heat a skillet or pot and add a heaping scoop of brown sugar in the pot, stir with wooden spoon and then add about the same amount of soy sauce. Add smashed ginger root and a tablespoon or so of water. Stir, bring to a small boil until all the ingredients smell wonderful.
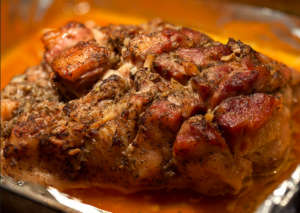
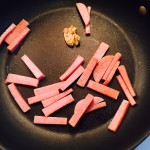
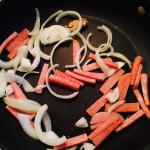
Put the slices of spam in. Turn slices every once in a while, simmer for about 5 minutes, then turn off heat.
Put equal sized mounds of rice on a cutting board and add pieces of ume to the middle of each mound. Rice should be nice, hot, and soft.
Use a deep bowl for hot hot water from the sink faucet to wet your hands and sprinkle salt on wet (but not dripping) hands.
Grab a mound of rice with your salted wet hands and smash into a ball to compress, and then shape into a rectangle shape and set back on the board or a plate. (This is the toughest part because your hands will be handling hot rice, but you can do it!)
After the 5 mounds of rice have been compressed and shaped into rectangles, carefully put a delicious cooked slice of spam on each rice “brick”. Allow a couple of minutes to cool, wrap with the half sheet of nori, and you are done!!!
Wrap with waxed paper or plastic wrap if you will be taking these to share or eat later.
*updates: Use Aloha Shoyu because it is a mild shoyu otherwise it is too salty. Or, Aunty just tried a super easy lazy way of cooking the spam with Bob’s Barbeque marinating sauce (from Aunty’s favorite fast food drive in on Dillingham and Waiakamilo). REALLY ono – a little sweeter and so tasty!
-
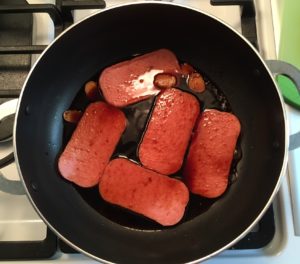
- Cooked spam in a pan
-
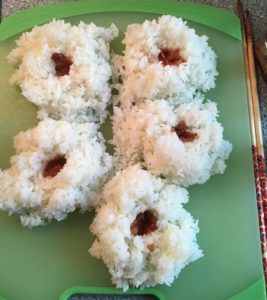
- Mounds of rice with ume
-
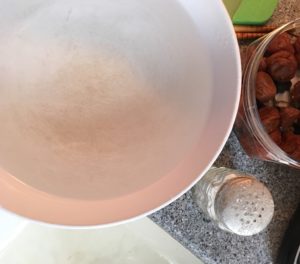
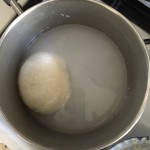
- Bowl with hot water and salt
-
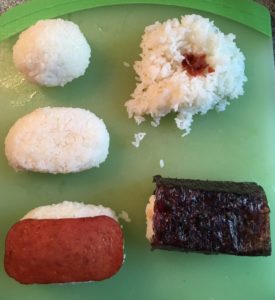
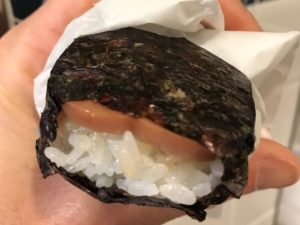
- Stages of a spam musubi

 This was a

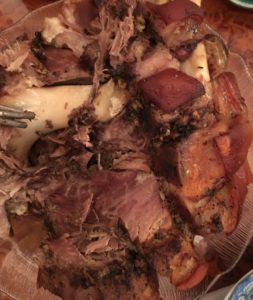
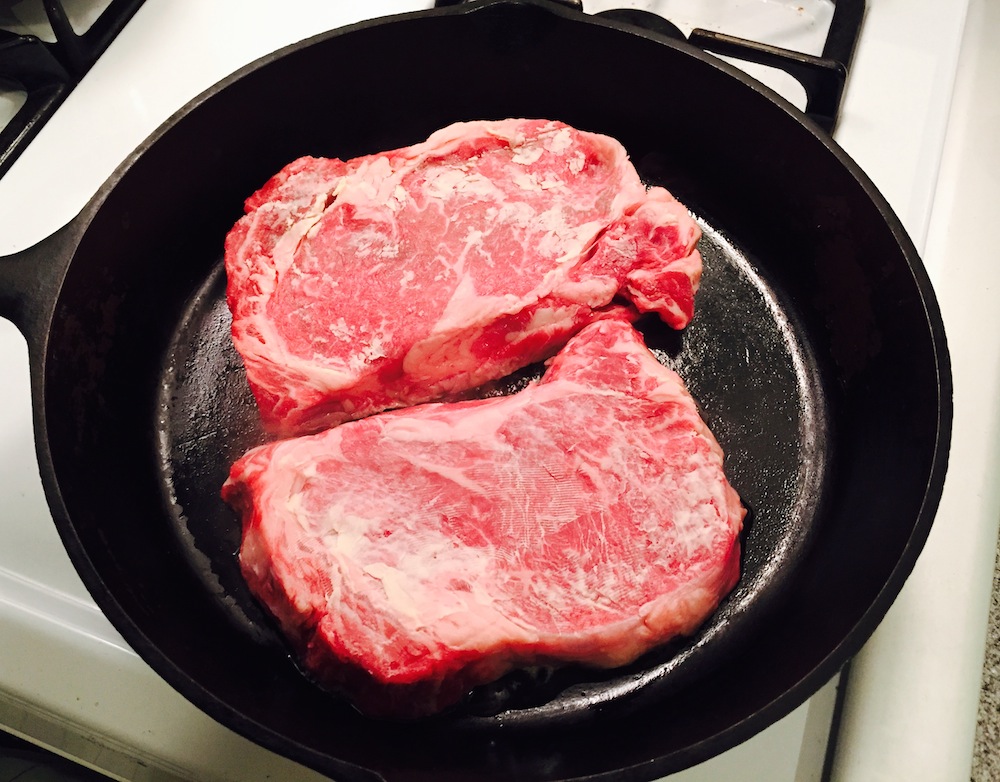
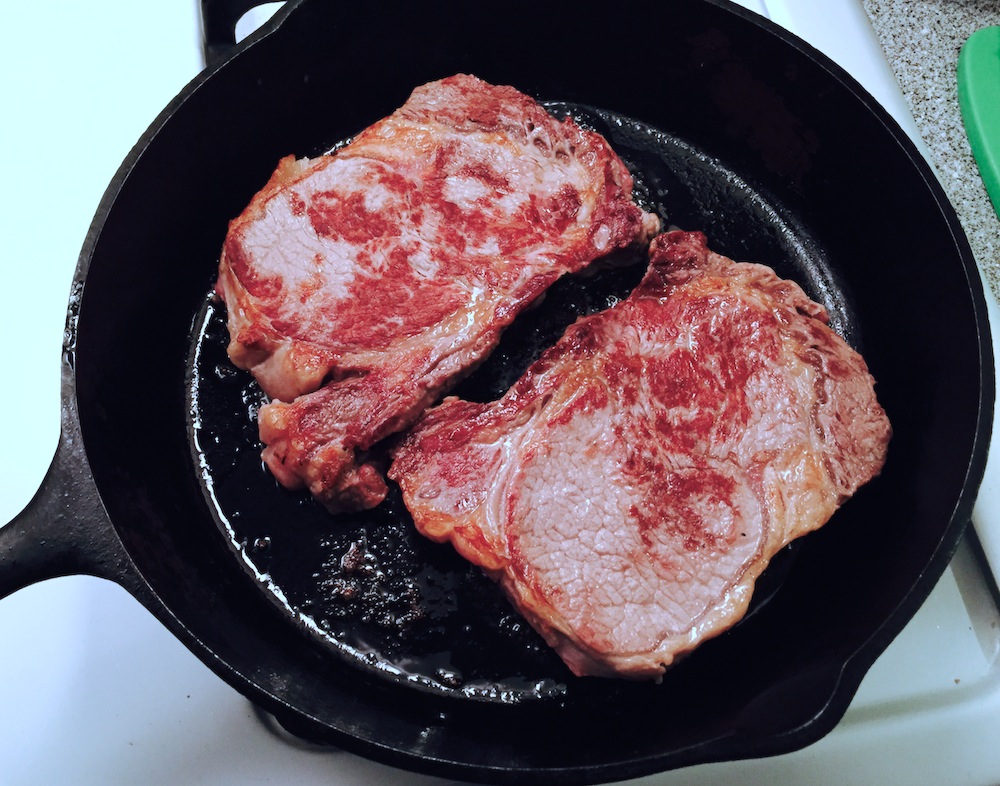
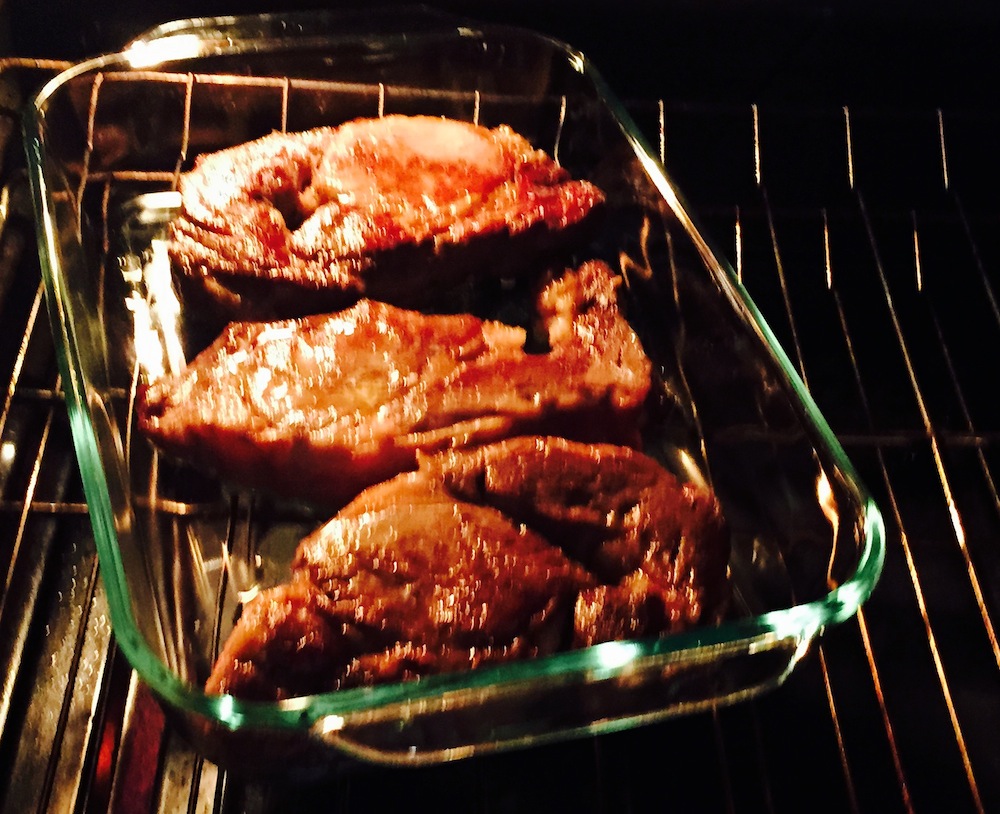
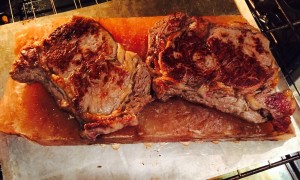
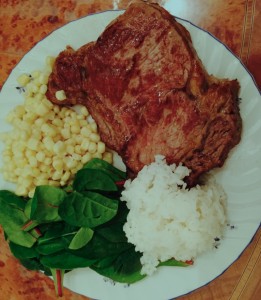 Once in a while, Aunty loves a great steak. One that is a little bit crusty outside yet soft and slightly juicy inside.
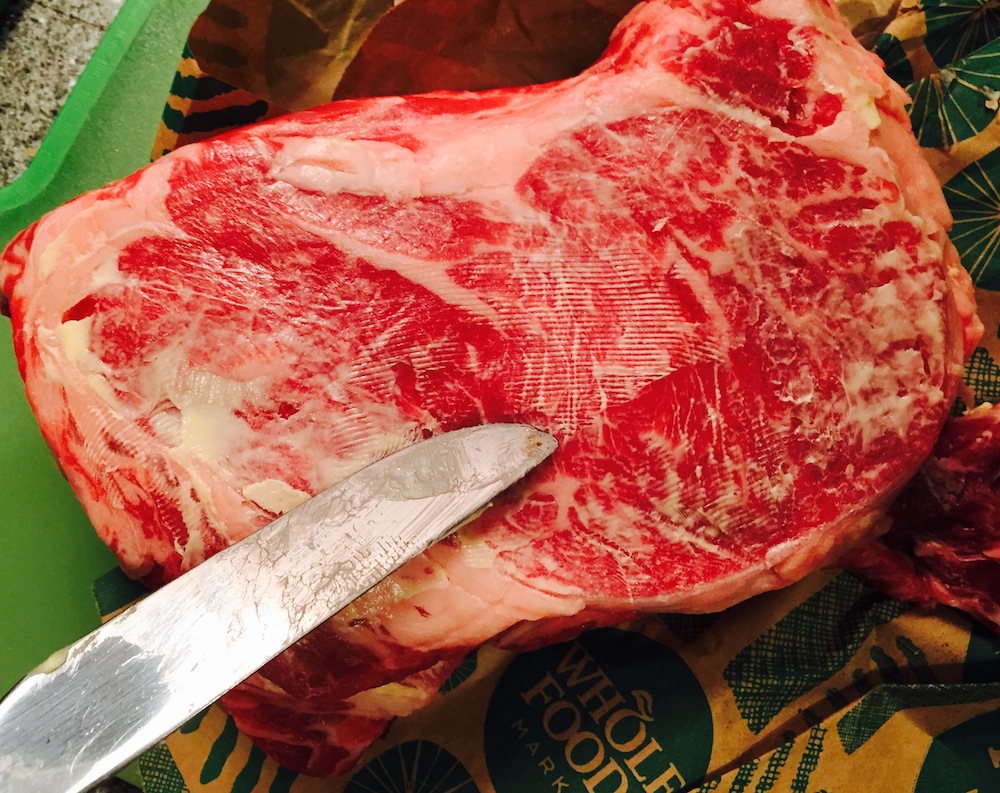
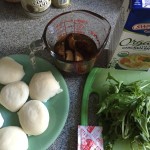
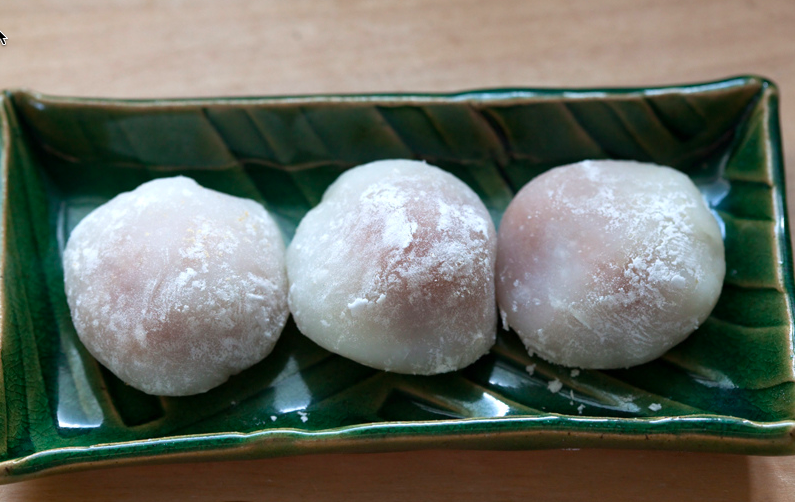
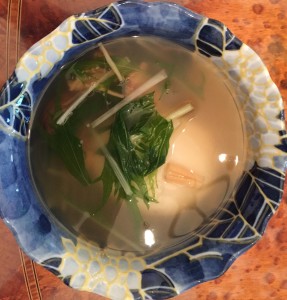 Aunty does not do traditions very well, but one that is done because it is a favorite is Ozoni – soup with mizuna and mochi. Aunty likes the simple simple kind of ozoni that her mother used to make for the family. Other families have awesome ozoni made with fishcake, daikon, gobo, carrots, and a lot more. For Aunty, simple is better for Aunty to remember.